
Planning an underground rainwater tank early in a new home build can make installation easier, reduce the risk of unexpected costs and ensure the system works effectively with the finished property.
An underground tank may eventually disappear beneath the landscaping, driveway or outdoor area, but installing it requires careful coordination. Tank capacity, excavation, stormwater connections, delivery access and the location of other underground services all need to be considered.
For South Australian homeowners, builders and plumbers, the best time to make these decisions is before construction limits the available options.
Why Early Planning Matters
It can be tempting to treat a rainwater tank as something that can be added towards the end of a build. With an underground concrete tank, however, decisions made during the design and site preparation stages can have a significant effect on installation.
The tank needs to be positioned where it can collect water effectively, be delivered safely and remain accessible for future inspection and maintenance. The height of the gutters, location of downpipes, fall of the connecting pipework and finished ground level must all work together.
Planning early also allows the tank to be integrated into the broader site layout without competing with foundations, drainage, landscaping, utility connections or future structures.
Start With How the Rainwater Will Be Used
Before choosing a tank or deciding where it will go, consider how the stored rainwater will be used.
Depending on the home’s plumbing and relevant requirements, harvested rainwater may be used for purposes such as:
- Garden and landscape irrigation
- Toilet flushing
- Laundry use
- Washing vehicles and outdoor areas
- Supplementing other household water supplies
The intended uses will influence the amount of water required and the connections that need to be incorporated into the building design.
The roof catchment area and local rainfall also affect how much water can realistically be collected. A larger tank may provide more storage, but it will only be useful if sufficient water can be captured and the household has an appropriate use for it.
Ri-Industries recently explored these considerations in its guide to choosing an underground rainwater tank size. A plumber, hydraulic consultant or other qualified professional can also help calculate the likely demand and collection potential for a particular property.
Choose the Tank Location Carefully
An underground tank allows valuable outdoor space to remain available for gardens, entertaining areas or vehicle access. However, being out of sight does not mean it can be placed anywhere.
The selected location needs to account for:
- The position of the house and other structures
- Required setbacks and local regulations
- Finished surface levels
- The route from gutters and downpipes
- Access for delivery and placement
- Future access to inspection openings
- Nearby trees and root systems
- Existing and proposed underground services
- Soil conditions and groundwater
Placing the tank close to the main collection points may simplify pipework, but delivery and excavation requirements must also be considered.
A site plan showing the proposed house, tank, pipework and underground services can help everyone involved understand how the system will fit together.
Check Gutter and Inlet Heights
Rainwater generally relies on gravity to travel from the roof catchment into the tank. This means the gutter outlet must be higher than the tank inlet, with enough fall across the connecting pipework.
Ri-Industries’ installation guidance recommends excavating to the required depth, plus an additional 75 millimetres or more where needed to achieve the correct fall from the gutter height. The prepared excavation must also include a level base of suitable gravel or screenings.
These levels should be confirmed before excavation begins. Changes to the finished floor level, gutter height or ground level during construction can affect whether the planned connection will work.
If gravity flow cannot be achieved, additional design measures may be required. Identifying this early is far easier than trying to resolve it once the home and landscaping are complete.
Allow for Delivery and Crane Access
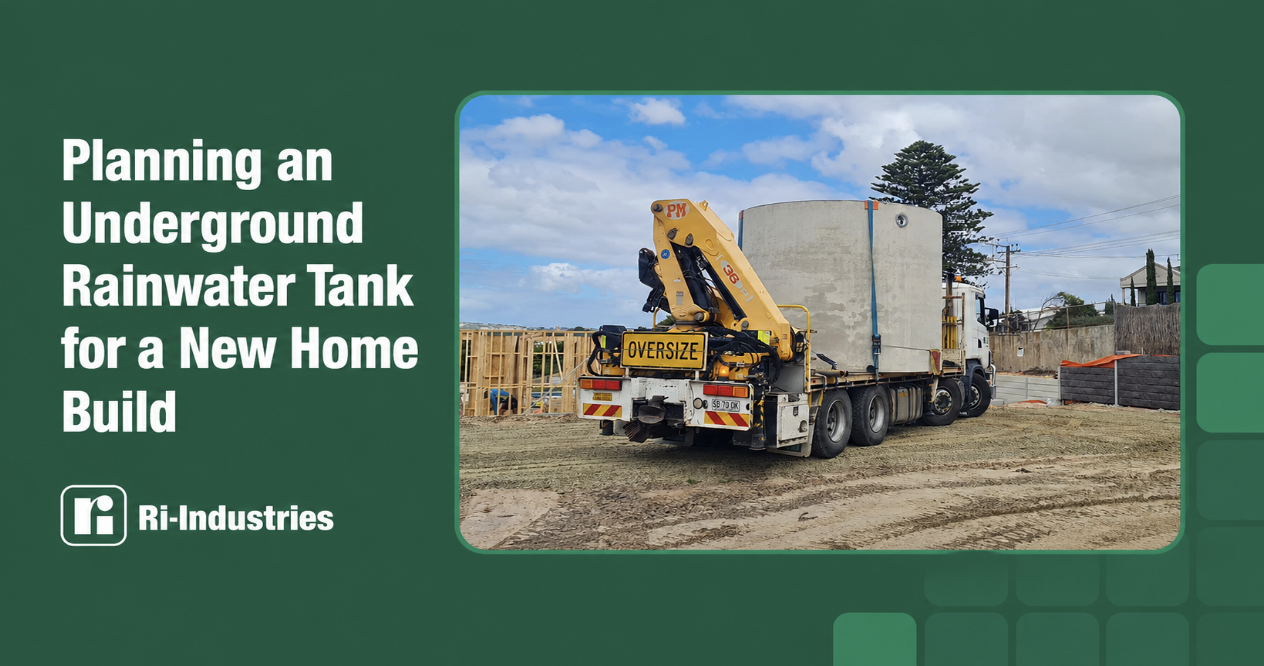
A precast concrete rainwater tank is a substantial product that requires appropriate equipment and clear access for delivery and placement.
According to Ri-Industries’ current delivery requirements, the truck may need:
- At least four metres of clearance between gate posts
- Approximately 4.7 metres of vertical clearance beneath trees and overhead obstacles
- A minimum height clearance of eight metres when unloading
- Firm, level access to the unloading area
Underground drains, pipes and cables must be identified before the delivery vehicle enters the site. Newly constructed driveways, foundations and sealed areas may also affect access.
Delivery should therefore be considered when developing the construction schedule. In many cases, placing the tank before fences, driveways, carports or extensive landscaping are completed can provide considerably better access.
Builders and homeowners should confirm the specific requirements with Ri-Industries rather than assuming that a truck and crane will be able to reach the proposed location.
Decide Whether the Cover Will Be Trafficable
What will be located above the tank once the project is finished?
A tank positioned beneath a garden or landscaped area has different structural requirements from one installed beneath a driveway or area exposed to vehicle traffic.
Ri-Industries offers both trafficable and non-trafficable cover slab options for its underground concrete rainwater tanks. The appropriate cover and permissible burial depth must be determined for the intended application.
This decision should never be left until after the tank has been ordered. Future property plans should also be considered. An area that begins as garden space may later become a driveway, parking area or access route.
Being clear about the expected surface use allows the right tank configuration to be specified from the beginning.
Coordinate Inlets, Outlets and Plumbing
Every property has a different layout. The position of the tank’s inlet, outlet, overflow and other connections should suit the planned pipework rather than forcing the plumber to work around a standard configuration.
Ri-Industries manufactures its concrete rainwater tanks at its South Australian facility and can customise the position of inlets and outlets to suit individual project requirements.
For this to be effective, the required connection points need to be confirmed before manufacturing. The builder, plumber and tank supplier should work from the same plans and specifications so there is no uncertainty when the tank arrives.
The design should also address:
- First-flush devices
- Leaf and insect screens
- Tank overflow
- Pump location
- Connections to household fixtures or irrigation
- Inspection and maintenance access
Public health guidance recommends preventing light, animals, insects and debris from entering stored rainwater. Correctly designed inlets, sealed access points and screened overflows all contribute to protecting the water supply.
Protect the Tank During Construction
Once placed, the tank should be protected while other building work continues.
Ri-Industries recommends filling the tank with water immediately after placement to at least the surrounding ground level until the backfill has compacted. The tank should not be left empty for extended periods.
The location should also be clearly marked so construction vehicles, excavators and other trades do not accidentally damage access covers, pipework or surrounding ground.
Temporary site drainage may be needed to stop sediment, construction debris or contaminated runoff from entering the tank before the roof catchment and filtration components are ready.
Make Maintenance Part of the Design
An underground tank still needs to be inspected and maintained. Access covers, screens, pumps and filters should remain reachable after landscaping and construction are complete.
Avoid placing permanent structures over inspection points or designing garden beds that make access difficult. The final landscaping plan should acknowledge the tank’s location, even if the tank itself cannot be seen.
The roof, gutters, screens and first-flush system will also require ongoing attention. Planning for convenient access makes routine maintenance more likely to happen and helps the rainwater system continue performing as intended.
Build the Tank Into the Plan
A well-planned underground rainwater tank can provide valuable water storage without occupying usable space above ground. However, successful installation begins well before the tank reaches the site.
Capacity, placement, levels, delivery access, cover type and plumbing connections should all be addressed as part of the wider building plan.
Ri-Industries manufactures reinforced concrete underground rainwater tanks in South Australia. Its tanks are constructed using high-frequency vibrated concrete with steel reinforcement and can be manufactured with inlet and outlet positions suited to individual projects.
If you are planning a new home, contact Ri-Industries on 08 8444 8100 or request a quote early in the design process to discuss tank capacity, site access and project requirements.